Cutaway panels in GIMP
The outline
Draw your outline in another program - GIMP isn't really suited to this. LibreCAD is pretty good, Inkscape would also work. You're going to use it for selections, so make sure all the lines meet up. Leave a border - you can trim it off later if you don't want to include it in the final texture.
Import the file into GIMP. Duplicate the layer, and erase any stray lines that shouldn't be visible (useful to keep an intact backup, so you can still select the full shape of any component easily).
Once done, if you have a black or white background, turn it transparent with 'Colours' -> 'Colour to alpha'. You might want to create a blank black or white layer to put behind your outline as an editing aid to make the lines stand out.
Defining paths
Use 'Fuzzy select' (Shift + left click to add to selection) to select a group of components that you imagine should be of the same height.
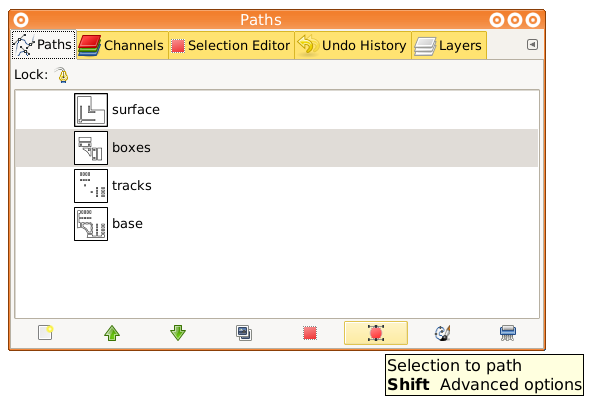
In the 'Paths' dialogue, select 'Selection to Path'. Repeat, until you have a path for each height group.

